
It's been an exciting week here!
With spring temperatures remaining constant,
it feels like our crops are ready to g-r-o-w
full
steam
ahead!
Our straw bales are planted,
the potato towers are doing well,
and the leeks, shallots and garlic that we planted in the fall
will soon be harvested.
With full pots and no more room in the straw bales,
it was time to create more growing space.
 |
| Simple, inexpensive materials |
So far,
I haven't embraced our clay soil.
I'm trying to work around it by container gardening
and creating raised beds.
This past weekend, two new beds were created
and I thought I'd walk through the steps
to show how easy it really is!
We bought two 8 foot boards (untreated) for each bed,
and had our local home improvement store cut them in half.
You can cut them yourself if you have the equipment,
but why bother?
A drill, drill bits and some exterior screws were all we needed.

Big K was helping me with this project,
as he is
one
handy
dude.
one
handy
dude.
He suggested using a drill bit,
which makes pilot holes.
Drilling pilot holes makes inserting screws a bit easier
which makes pilot holes.
Drilling pilot holes makes inserting screws a bit easier
and prevents the wood from splitting.

I laid out the frame into a big square.
If you are using boards of different dimensions,
your shape could vary.
Raised beds can be made in a variety of sizes,
but it's best not to make them more than 4 feet across
because it makes it more difficult to harvest your goodies.

The corners alternate inside and outside
(I know there's a term for this, but it escapes me).
Using the drill bit, we made pilot holes about an inch from the sides.
Two screws secure each corner.
Do this to the four corners and it's ready to go!

These beds will be joining the straw bales and potato towers
on the southeast side of our property.
But first, the grass had to go!

Not wanting to waste precious gardening time pulling up sod,
the easiest way to kill grass is to smother it.
These cardboard boxes were garnered from some folks who were moving.
They are thick cardboard, so they should keep the sun off the grass,
which will keep it from growing.
As much as I love growing things,
there is no love in my heart for turf.

The cardboard was laid down over the sod,
making sure to overlap the pieces so that grass cannot make its way through.

The two frames were placed on top,
leaving about a 3 foot walkway between them.
Some folks add a screen bottom to their frames,
to deter critters from tunneling under.
I'm taking my chances and hoping for the best.

I made sure to extend the cardboard out on the sides,
so that leaves or mulch can be added as walking paths.
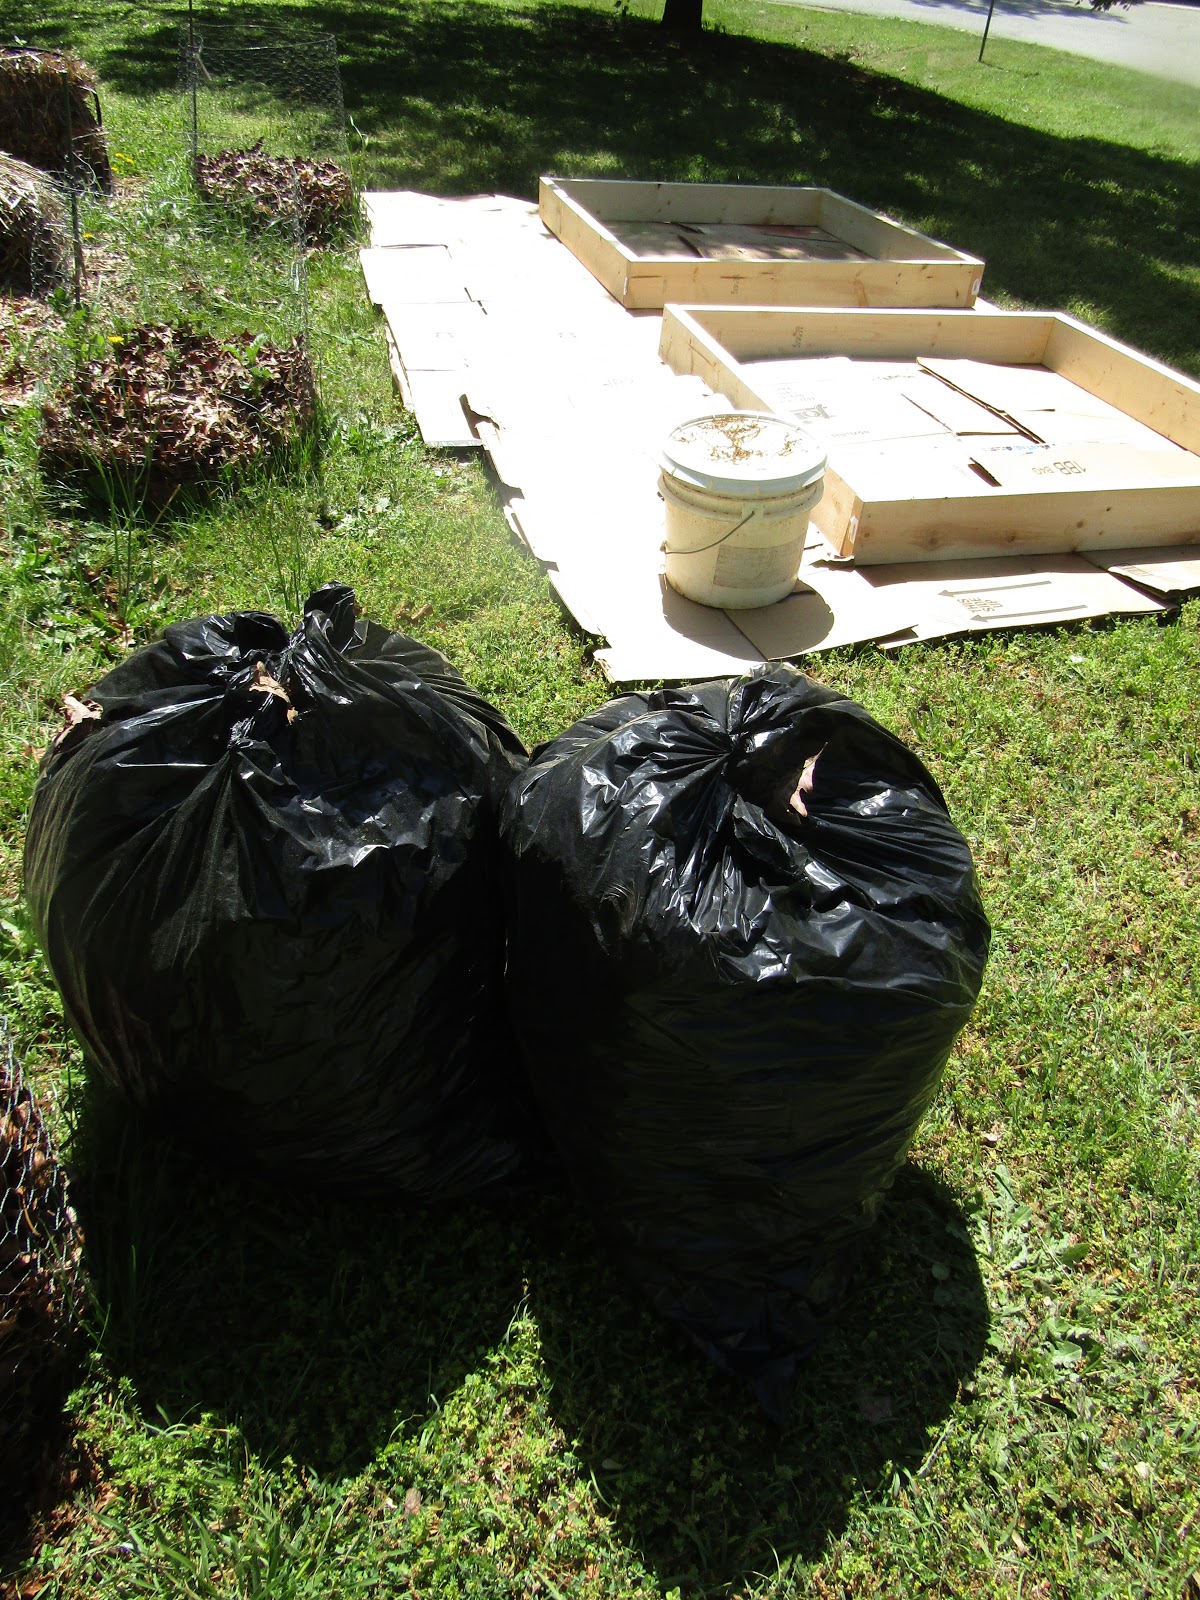
Our next-door neighbor had gifted us with bags of leaves,
and this was the perfect opportunity to use them.

I had enough to not only encompass the beds,
but place some inside and add even more to our potato towers.
These leaves will serve as a base for the beds
and the surrounding foot paths.
I may add a layer of mulch over the top of the pathways at a later date.

The next step is to fill them with good, loose soil.
I'm working on that now
and hoping that by next weekend,
these new beds will be filled with summer goodies!
No comments:
Post a Comment
Thanks for taking the time to leave your thoughts!